Home • Help • Administrator Tools
Assigned To Management
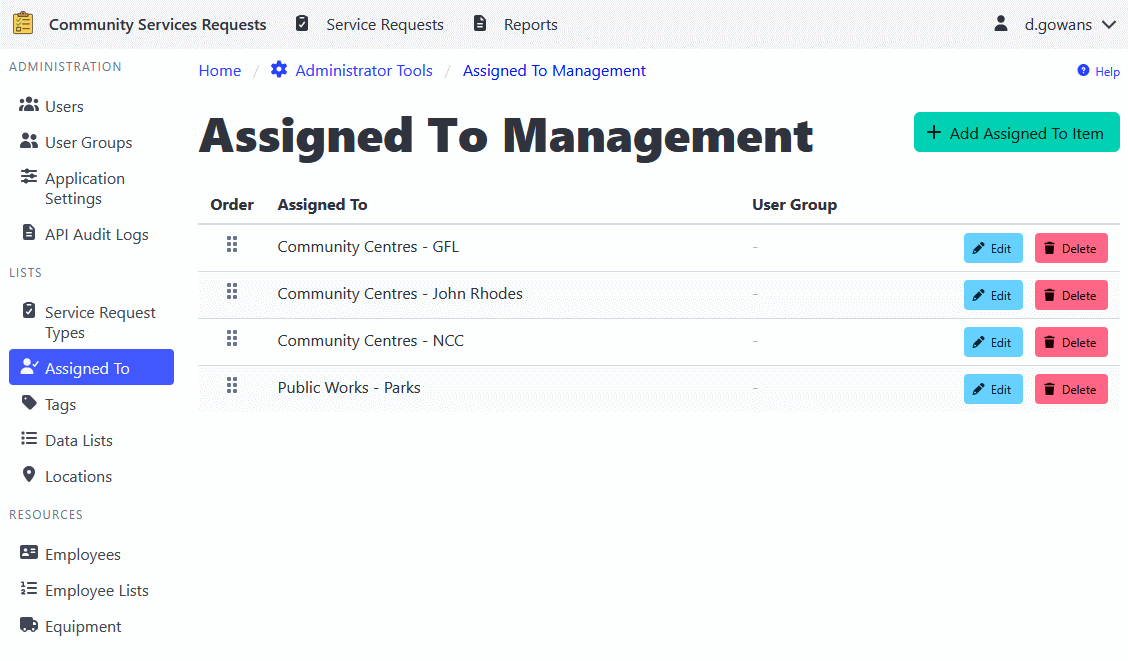
The Assigned To Management section maintains a list of assignees that can be associated with work orders and other records. This feature helps standardize who work is assigned to, making it easier to track assignments and filter records by assignee.
Adding an Assigned To Item
- Navigate to Administrator Tools > Assigned To.
- Click the Add Assigned To Item button.
- Enter the assignee name (e.g., person name, department, team, or role).
- Optionally, select a User Group to restrict visibility to specific users.
- Click Add to create the item.
Editing an Assigned To Item
- Navigate to Administrator Tools > Assigned To.
- Find the item you want to edit.
- Click the Edit button.
- Update the assignee name or user group restriction as needed.
- Click Update to apply changes.
Reordering Assigned To Items
The order of assigned to items determines how they appear in dropdown lists throughout the application.
- Navigate to Administrator Tools > Assigned To.
- Use the drag-and-drop handle (grip icon) to reorder items.
- Changes are saved automatically.
Deleting an Assigned To Item
- Navigate to Administrator Tools > Assigned To.
- Find the item you want to delete.
- Click the Delete button.
- Confirm the deletion.
⚠️ Note: Deleting an assigned to item will not remove it from existing records. It will only make it unavailable for future assignments.
User Group Restrictions
You can restrict the visibility of assigned to items to specific user groups. When a user group is assigned to an item:
- Only users in that group will see the item in their dropdown lists
- All administrators can see all items regardless of user group
- Existing records with that assignment remain visible to all users
This feature is useful for:
- Departmental or team-specific assignees
- Role-based assignment options
- Limiting options to relevant choices for different user groups